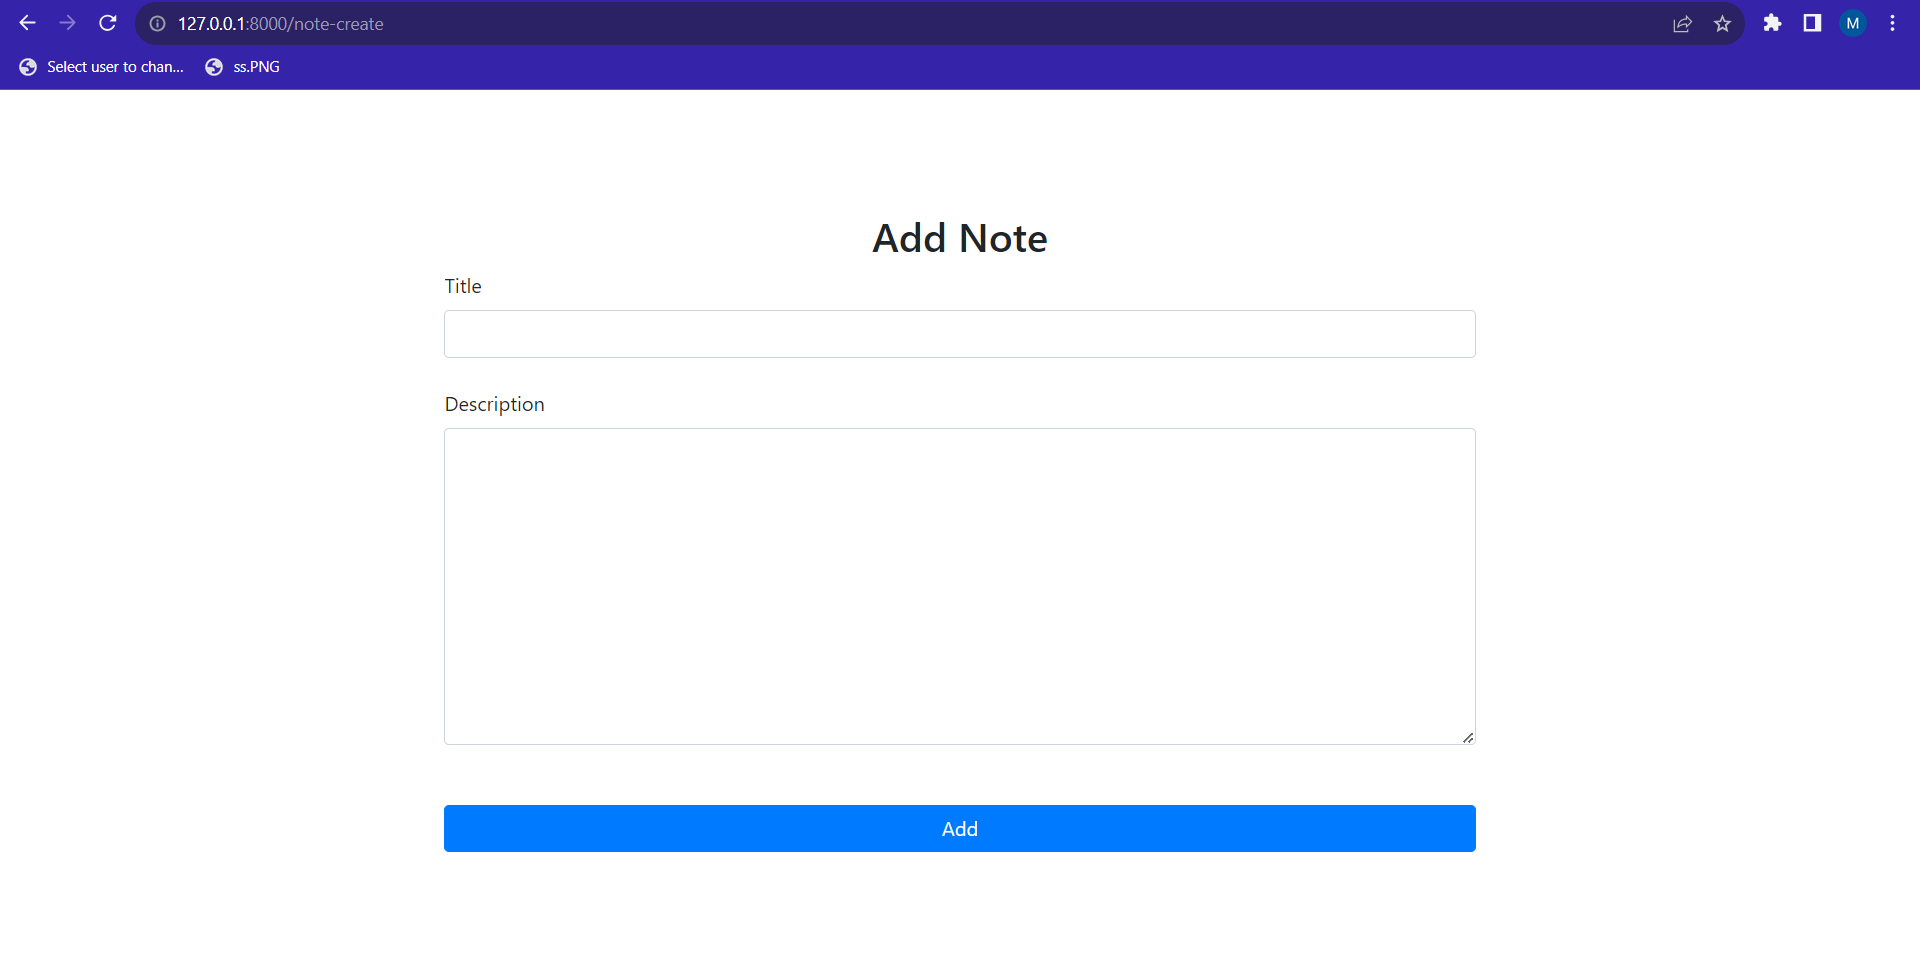
You can create a new note in the website using forms. Django has a default forms module that helps to create forms based on various fields.
To create a notes object in django we can create a form as follows :
Create a forms.py inside the notesapp folder and the following code.
from django import forms
from .models import *


class NoteForm(forms.ModelForm):
    title = forms.CharField(
        max_length=200,
        widget=forms.TextInput(attrs={'class': 'form-control'})
    )
    description = forms.CharField(
        widget=forms.Textarea(attrs={'class': 'form-control'})
    )
    class Meta:
        model = Note
        fields = ('title', 'description')
This form specifies two fields title and description and adds a class form-control to it. In the Meta class, the model has been specified.
A template needs to be created to handle the forms created by Django's form module.
{% extends 'base.html' %}

{% block content %}
  <div class="container">
    <div class="row justify-content-center align-items-center vh-100">
      <div class="col-md-9">
        <h2 class="text-center">{{form_heading}}</h2>
        <form method="post" class="form" enctype="multipart/form-data">
    {% csrf_token %}
    {% if message %}
      <ul class="alert alert-success">
        {{message}}
      </ul>
    {% endif %}
    {% if error %}
      <ul class="alert alert-danger">
        {{error}}
      </ul>
    {% endif %}
    {% for field in form %}
        <label for="{{ field.id_for_label }}">{{ field.label }}</label>
        {{ field }}
        {% if field.errors %}
        <ul class="alert alert-danger">
            {% for error in field.errors %}
              <li>{{ error }}</li>
            {% endfor %}
          </ul>
        {% endif %}
        <br>
    {% endfor %}

    {% if form.non_field_errors %}
          <ul class="alert alert-danger">
            {% for error in form.non_field_errors %}
              <li>{{ error }}</li>
            {% endfor %}
          </ul>
        {% endif %}
        <br>

        <button type="submit" class="btn btn-primary btn-block">{{button_text}}</button>
  </form>
</div>
</div>
</div>
{% endblock %}
This Django template uses a for loop to display the fields, and correspondigly the errors if there are any while submitting the form. Also, the form heading and button text variables are used, so that it can be passed from the views function and this form can be resued in multiple models. The {% csrf_token %} specifies that the form is submitted through the django web page and not using some other application.
You need to create a function in the views.py file to render the form and handle its submission.
from django.shortcuts import render, redirect
from .forms import *

def note_create(request):
    if request.method == 'POST':
        form = NoteForm(request.POST)
        if form.is_valid():
            form.save()
            return redirect('home')
    else:
        form = NoteForm()
    return render(request, 'form_template.html', {'form': form, 'form_heading':'Add Note', 'button_text':'Add'})
This function renders a form on a get request, and when the form is submitted, it saves the data in the form and redirects the user back to the home page. The home inside the redirect function refers to the name given to the url in the urls.py file.
In the next step, a route needs to be created in the urls.py file. The following should be added inside the urlpatterns in the notesapp\urls.py file :
path('note-create', views.note_create, name='note_create'),
Also, a link can be added from the home page to the note_create route by adding the following lines above the table in the home.html page.
<div class="row my-3 mx-4">
    <div class="col-md-6">
        <h3>Notes</h3>
    </div>
    <div class="col-md-6 text-right">
        <a href="{% url 'note_create' %}" class="btn btn-primary">Add Note</a>
    </div>
</div>
 On clicking the add note button, it will take you to the next page, where you will be able to add notes in the website.
