The model has been created, and also the changes have been migrated. So you can further continue and start inserting values in the database.
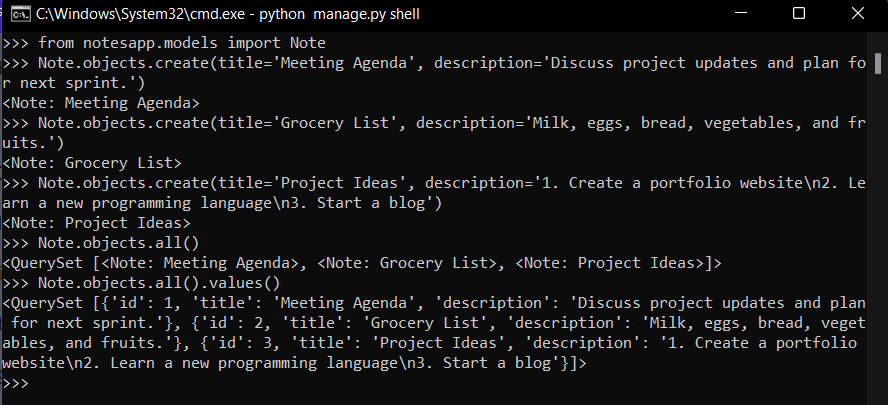
This can be done using the command python manage.py shell . In Django, python manage.py shell is a command that opens an interactive Python shell with the settings of your Django project preloaded. This shell allows you to interactively work with your Django application and its database using Python code. It's a powerful tool for testing code snippets, debugging, and performing various tasks within the context of your Django project. You can perform database queries, insert data, update records, and delete items directly from the shell.
The interactive shell can be opened by typing the following command in the command prompt :
python manage.py shell
 The next step would be to import the
 Note model and create objects for it, which can be done as follows :
from notesapp.models import Note
Note.objects.create(title='Meeting Agenda', description='Discuss project updates and plan for next sprint.')
Note.objects.create(title='Grocery List', description='Milk, eggs, bread, vegetables, and fruits.')
Note.objects.create(title='Project Ideas', description='1. Create a portfolio website\n2. Learn a new programming language\n3. Start a blog')
 The added notes can be viewed by typing the following command :
Note.objects.all()
 Further, the objects can be viewed in JSON format as follows :
Note.objects.all().values()
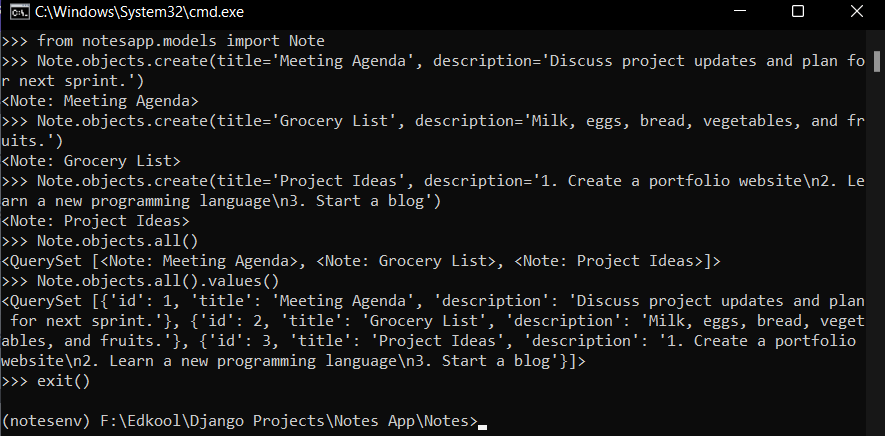
 After you're done working in the shell, you can exit by typing
 exit() or pressing Ctrl+D (or Ctrl+Z on Windows).
