In order to create a model, you first need to create an app and then add your models in the models.py file inside the app. You can view how to create an app by clicking here.
After creating an app, you can open the models.py file and type the following code :
from django.db import models

# Create your models here.
class Person(models.Model):
    first_name = models.CharField(max_length=30)
    last_name = models.CharField(max_length=30)
    birth_date = models.DateField()
This represents to a Person table in the database with 4 columns, an id column which is an auto-incrementing primary key column used to uniquely identify each row, a first_name column of datatype varchar of length 30, a last_name column of datatype varchar of length 30 and the birth_date column of datatype date. Even though not specified, an id column is created automatically in Django by default.
You can further add fields as per your requirement and you will see about the different datatypes Django supports in Models, further in this course.
The above code just creates a Model class to be accessed by python code and not a table in the database. To convert the Model into a database table, you need to run the following commands :
python manage.py makemigrations
 This command will note any change made in the
 models.py files in all the apps and will make a note of it. It will just make a note of all the changes that are made in the models.py file and not actually create a table. The makemigrations command has created a python file inside app_name/migrations folder. On opening the file, you can see the id column that is created by default in Django.
The app_name/migrations/0001_initial.py file would look like this for the particular model :
migrations.CreateModel(
            name='Person',
            fields=[
                ('id', models.BigAutoField(auto_created=True, primary_key=True, serialize=False, verbose_name='ID')),
                ('first_name', models.CharField(max_length=30)),
                ('last_name', models.CharField(max_length=30)),
                ('birth_date', models.DateField()),
            ],
        )
Here you can see that by default an id column is created in Django which is the primary key.
In order to create a table, you will also need to run the following command :
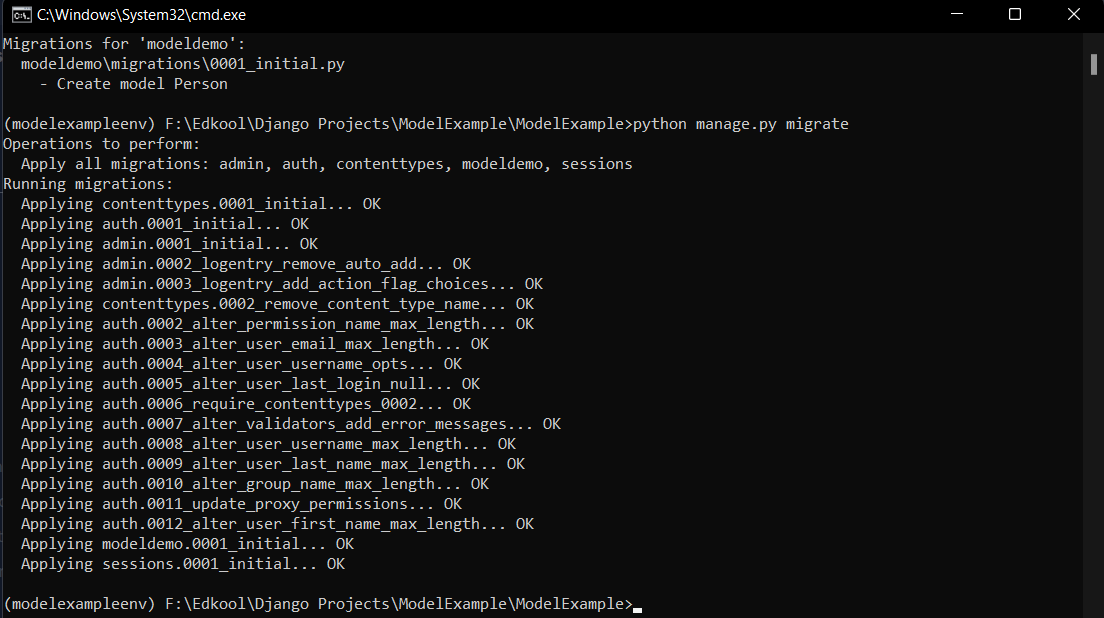
python manage.py migrate
 This command will apply all the pending migrations that are there and make the corresponding changes in the database.
Congratulations !!, you have created your first table in Django. You can now continue to create, more tables in Django in the same way.