Django

College Event Registration Website

CampusConnect Introduction and Setup Configuring settings file for template, static and media files Setting up Tailwind Creating Custom User Model Creating Super User for CampusConnect Registering Custom User Model Search and Filter for User Model Serving Media Files During Development Categorizing Departments Linking Department with HOD Creating Abstract Model for Event Creating Model for Workshop Customizing Admin Page for Workshop Update in Model AbstractEvent Adding Instructor for Workshop Instructor Model Admin Page Adding Poster Field in Abstract Event Providing Access to HOD Access Update for HOD Restricting HOD Access to Particular Department AbstractEvent On Spot Registration Field Creating Workshop Object Creating and Linking Home Page Displaying Workshop on Home Page Styling Home Page Adding Workshop Detail Page Link Workshop Detail Page Workshop Detail Page Styling Workshop Instructor Details Workshop Detail Contact Contact Admin Page Many to Many Field for Contact Displaying Contact on Workshop Detail Page Adding Title for Workshop Detail Page Adding Gallery for Workshop Workshop Gallery Admin Page Displaying Gallery Images on Website Through Context Displaying Gallery Images on Website through template tags Authentication for users User Registration User Registration Submission Logout Functionality For User Login Functionality for User Model For Workshop Registration Workshop Registration Admin Page Register Workshop Function Register Button in Workshop Page Validations Before Workshop Registration Workshop Registration Closed Validaiton User Already Registered for Workshop Validation Workshop Registration Report From Admin Page Export using Library in Django Admin Extending Abstract Event for Hackathons

Setting up Tailwind

Tailwind CSS is a utility-first CSS framework and we will be using it to design the pages of our CampusConnect website. The detailed configuration of Tailwind can be viewed by clicking here.

To use tailwind, you would need to install it first, which can be done by the following command.

pip install django-tailwind
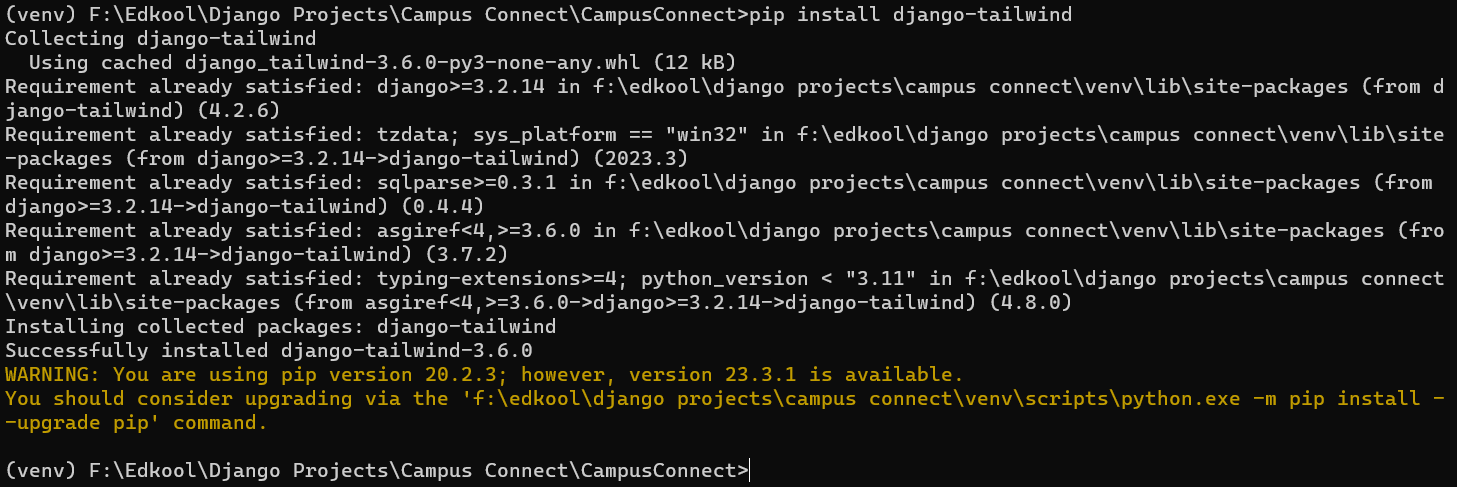
alt text After installing tailwind, it needs to be added inside the INSTALLED_APPS in settings.py file.

'tailwind',

After this, tailwind should be initialized and the corresponding tailwind app name also needs to be included inside the INSTALLED_APPS in settings.py file.

python manage.py tailwind init

alt text

'theme',

Now you should continue to register the theme app and specify the internal ips in the settings.py file along with configuring the path of npm in your system.

TAILWIND_APP_NAME = 'theme'

INTERNAL_IPS = [
    "127.0.0.1",
]

NPM_BIN_PATH = r"C:\Program Files\nodejs\npm.cmd"

After doing these changes, you can run the tailwind install command to download the tailwind css dependencies inside your project.

python manage.py tailwind install

alt text Now tailwind is configured in our project, and is ready to use.