Here we will see through the installation and setup process to get your development environment ready for Django web development.
Python Installation: Before we begin with Django, ensure you have Python installed on your computer.
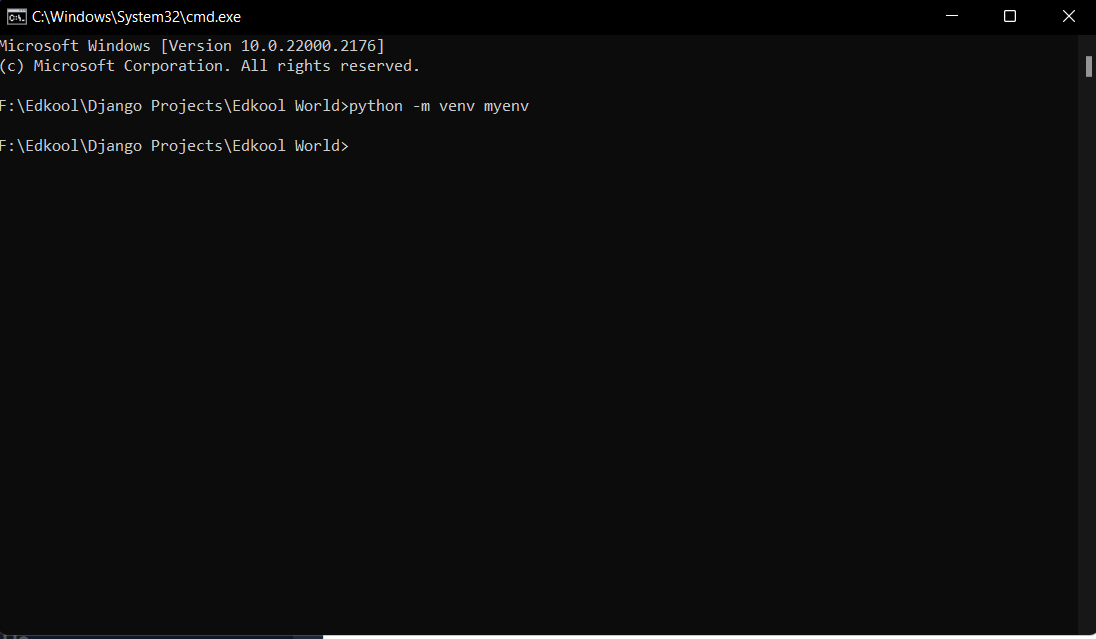
Lets start our project with the creation of a virtual environment. A virtual environment (often abbreviated as "virtualenv" or simply "venv") is a self-contained and isolated Python environment that allows developers to manage project-specific dependencies separately from the system-wide Python installation. The following command can be used to create a virtual environment.
python -m venv myenv
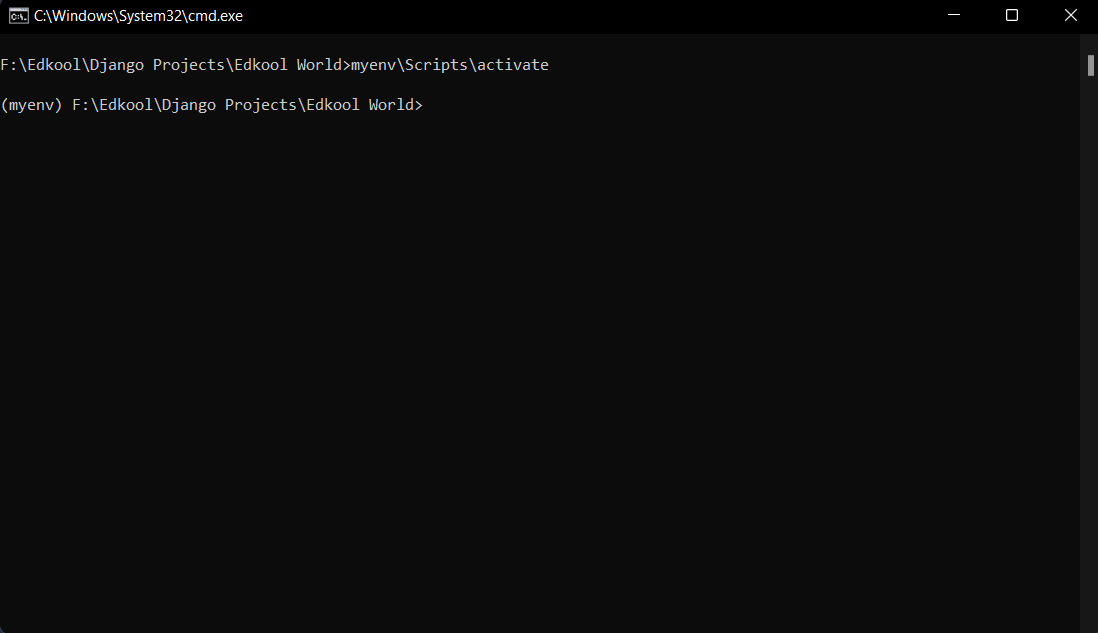
 After creating a virtual environment, it needs to be activated which can be done by using the following command.
On Windows:
myenv\Scripts\activate
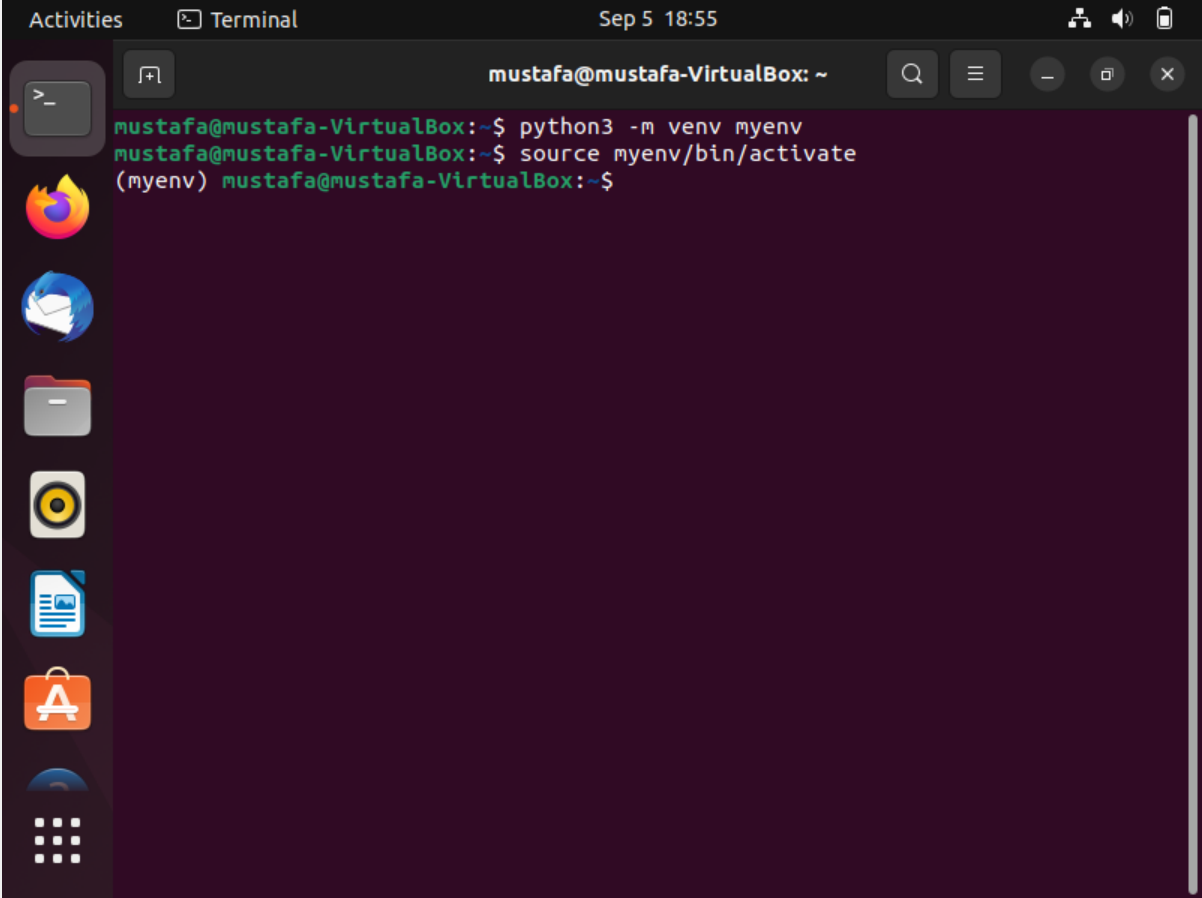
 On Linux:
source myenv/bin/activate
 After moving in to the virtual environment, we can install Django using the following command.
pip install django
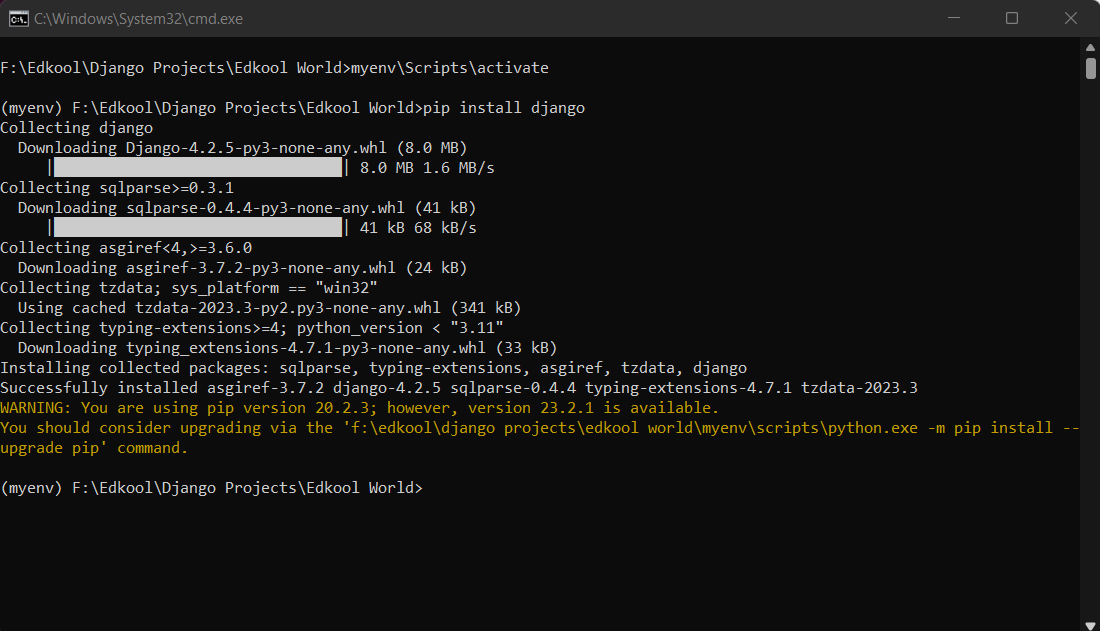 The Django package will be installed inside the Lib folder of the virtual environment.
When you're done working on a project and want to leave the virtual environment, you can deactivate it:
deactivate
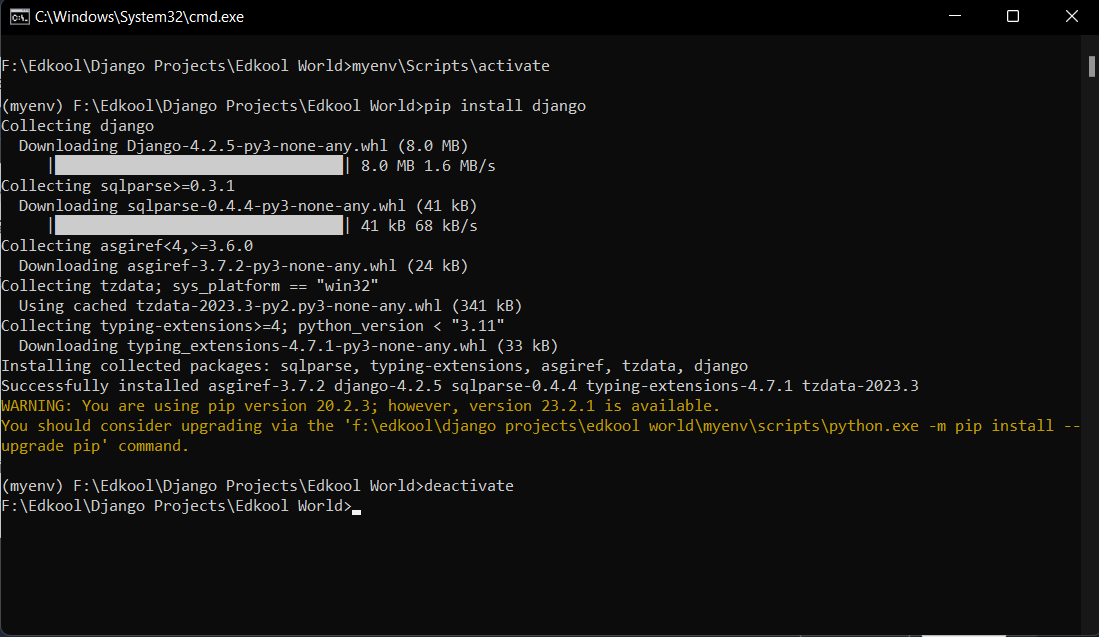 This returns your command prompt or terminal session to the system-wide Python environment.