Creating user registration, authentication, and login functionality is a fundamental part of building web applications using Django, a popular Python web framework. In this section, you will learn how to use the django's default User model to, to restrict specific urls to be allowed only by authenticated users.
Lets start by creating a virtual environment for the project :
python -m venv authenv
authenv\Scripts\activate
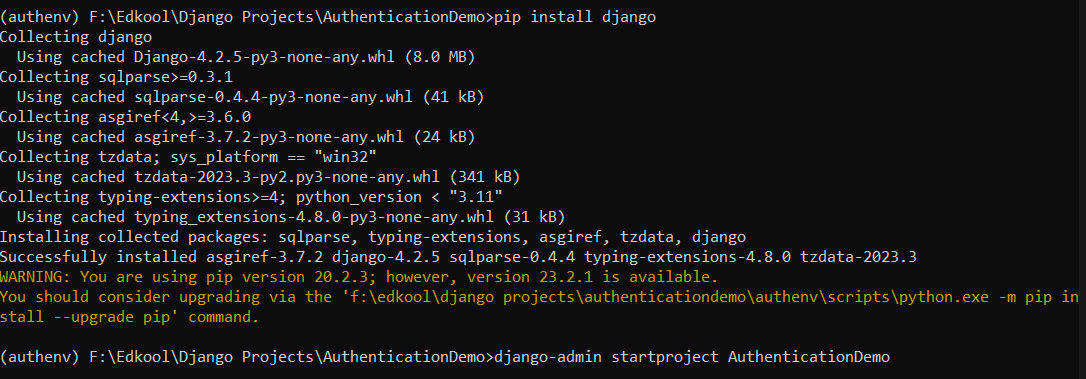
 Then you can continue to install django and start a project in django.
pip install django
django-admin startproject AuthenticationDemo
 Next you can move into the project folder and create an app, in the project to write your views code and map it with urls. The exact configuration of app can be viewed by clicking here.
python manage.py startapp authentication
 Next step you should the authentication app in the
 INSTALLED_APPS in settings.py file.
INSTALLED_APPS = [
    'django.contrib.admin',
    'django.contrib.auth',
    'django.contrib.contenttypes',
    'django.contrib.sessions',
    'django.contrib.messages',
    'django.contrib.staticfiles',
    'authentication',
]
You also need to create and configure your templates folder, to render html files in the website. Click here to view how to configure templates folder.
import os
...
'DIRS': [os.path.join(BASE_DIR, 'templates')],
Also, make sure you have created a templates folder in the project directory.