After deciding with your project and coming up with a name for it, you can go inside the folder you want your project to be developed and enter in a virtual environment. A Django project can be created by typing the following command in the command prompt.
django-admin startproject <project_name>
In our case, the project name is EdkoolWorld so we will type the following command:
django-admin startproject EdkoolWorld
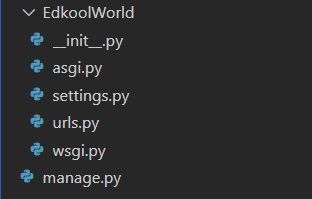
 After the command is completed successfully, Django will create some files in a structured manner.
 We will learn about all these files and their purpose further in this course.
Run Django Project
Now that we have a Django project, we can run it and see how it looks like in the browser.
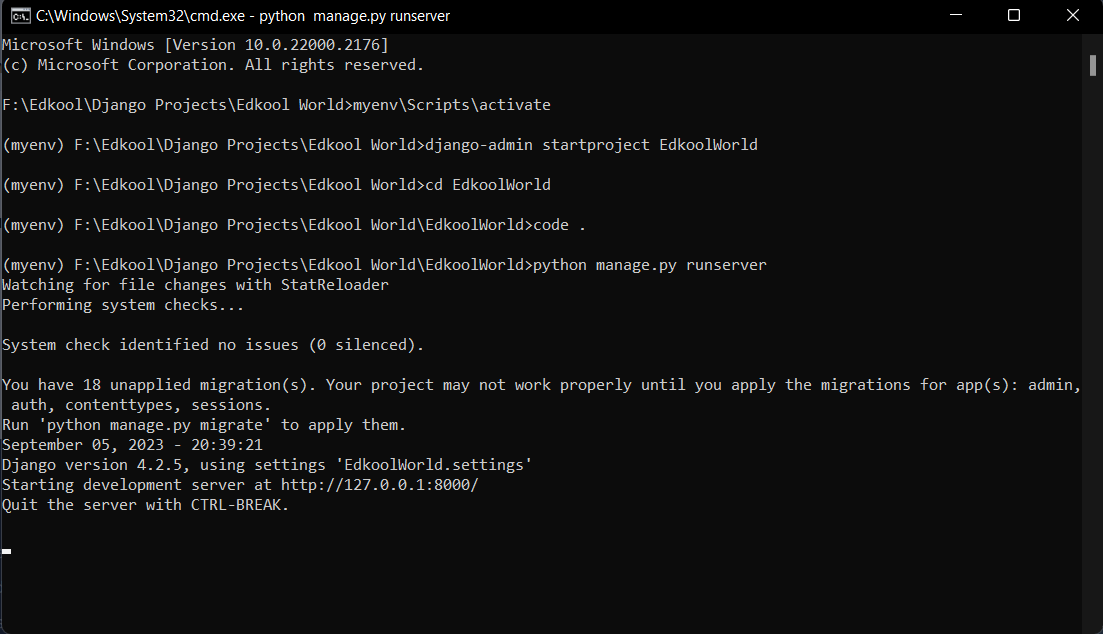
Navigate inside the EdkoolWorld folder where the manage.py file is present, and type the following command
python manage.py runserver
The following command will produce a result like this :
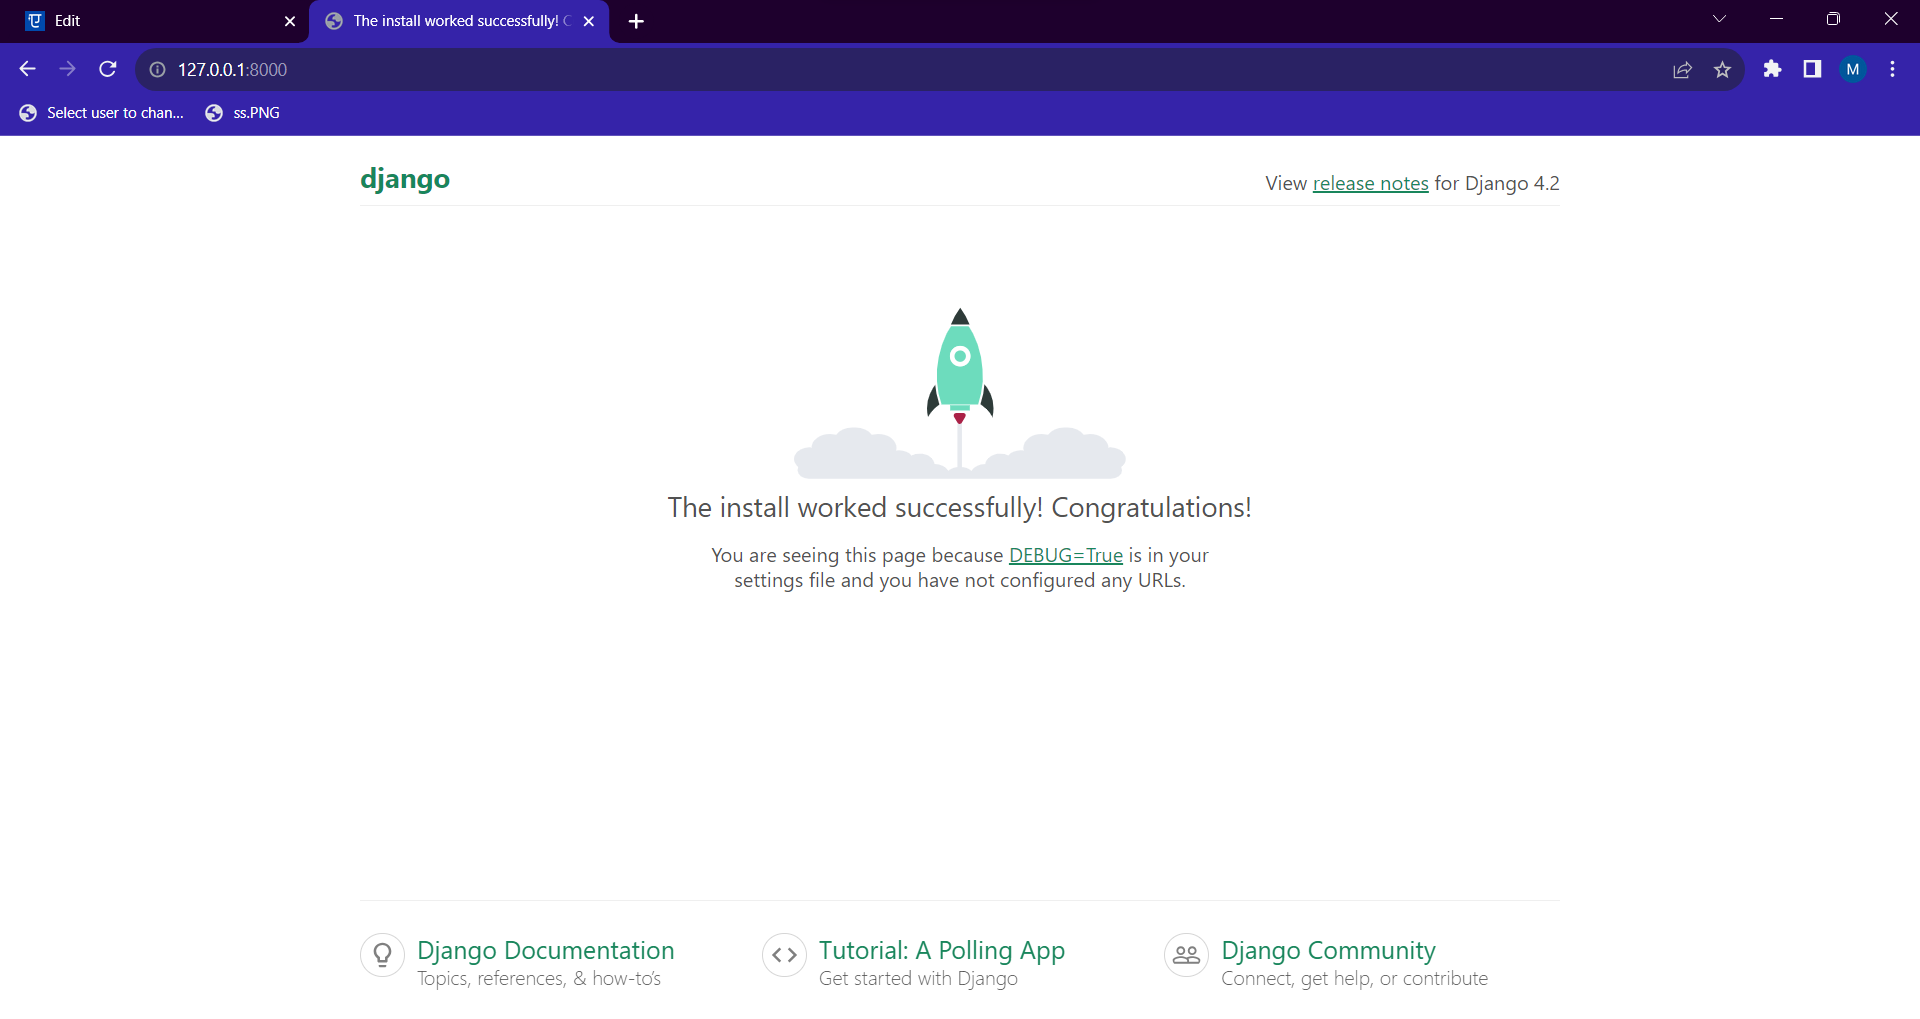
 The default web page created can be viewed by visiting the link http://127.0.0.1:8000
 Congratulations, you have just created your first website. Althought its just a default web page, we will modify the web page further and create our dream website further in the course.
The next step is to create an app in Django. In Django a web page can be created only by creating an app.