Django, provides us with a default user model. The default user model in django, contains username as the unique key which identifies each entry uniquely in the users table and is used for authentication purpose. But our CampusConnect aims to target college students to register for events and it won't be suitable to make them enter a username for registration purpose. In this kind of college event registration website, the user should be prompted with email for registration and authentication purpose. In order to acheive this, we can use the AbstractUser class and edit the fields we want.
Before doing this, we would need to create an app inside the project. Let's create an app named authentication.
python manage.py startapp authentication
 We would also need to add the app inside the
 INSTALLED_APPS in settings.py file.
'authentication',
After doing this, you can open your authentication/models.py and create a custom user model.
from django.db import models
from django.contrib.auth.hashers import make_password
from django.contrib.auth.models import AbstractUser


class User(AbstractUser):
    username = None
    email = models.EmailField('Email Address', unique=True)
    profile_photo = models.ImageField(upload_to='profile_photos/', null=True, blank=True,default='profile_photos/default_profile.png')
    mobile_number = models.CharField(max_length=10, null=True, blank=True)
    role = models.CharField(max_length=1, choices=[('a', 'Admin'), ('h', "HOD"), ('s', 'Student')])

    USERNAME_FIELD = 'email'
    REQUIRED_FIELDS = []

    def save(self, *args, **kwargs):
        if not self.password.startswith('pbkdf2_sha256$'):
            self.password = make_password(self.password)
        super().save(*args, **kwargs)
So here, we have set the username to None and added some extra fields along with to store the user information such as profile_photo, mobile_number and role. The ImageField upload path is profile_photos, so we need to create a folder named profile_photos inside the media folder and add a default_profile.png image there for the default value. The USERNAME_FIELD is set to email as that will be used for authentication purposes and also REQUIRED_FIELDS is set to null as the username is by default a required field in the Django model. Also the save() method is also overrided in order to hash the password if its not while saving the user object.
Along with this, in the settings.py file, you need to specify that this model will be used for authentication purpose. This can be done by adding the following line inside settings.py file.
AUTH_USER_MODEL = 'authentication.User'
Now you can go ahead and run the migrations to create the table in database.
python manage.py makemigrations
 We received an error that
 ImageField is being used but Pillow library is not installed. Without the Pillow library, ImageField can't be used in Django. So let's install the Pillow library first.
pip install pillow
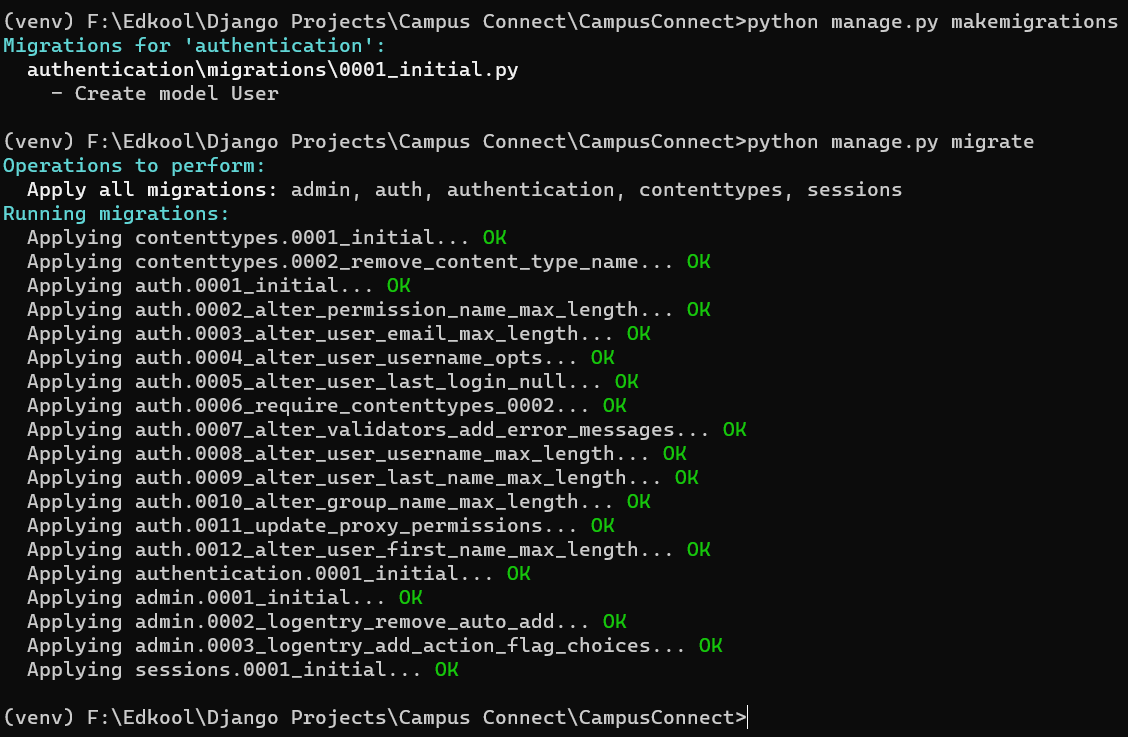
 After pillow has been installed, we can continue to run the migrations command to create the table in the database.
python manage.py makemigrations
python manage.py migrate
 Now, the custom user model has been created successfully.