The form that you have created to add notes, can also be used to edit a node object by passing an instance of it.
A function can be created in the views.py file, to edit a notes object as follows :
def note_edit(request, pk):
    note = Note.objects.get(pk=pk)
    if request.method == 'POST':
        form = NoteForm(request.POST, instance=note)
        if form.is_valid():
            form.save()
            return redirect('home')
    else:
        form = NoteForm(instance=note)
    return render(request, 'form_template.html', {'form': form, 'form_heading':'Edit Note', 'button_text':'Update'})
Here, an additional parameter pk is passed, which refers to the primary key of the note object in the database and an instance of the note object is retrieved using its primary key.
A route to this views can be added in the notesapp\urls.py file as follows :
path('note-edit/<int:pk>', views.note_edit, name='note_edit'),
Here int: before pk specifies that only integer values are allowed in its place. Similarly regex can also be used here in order to further add any specific restrictions in the url.
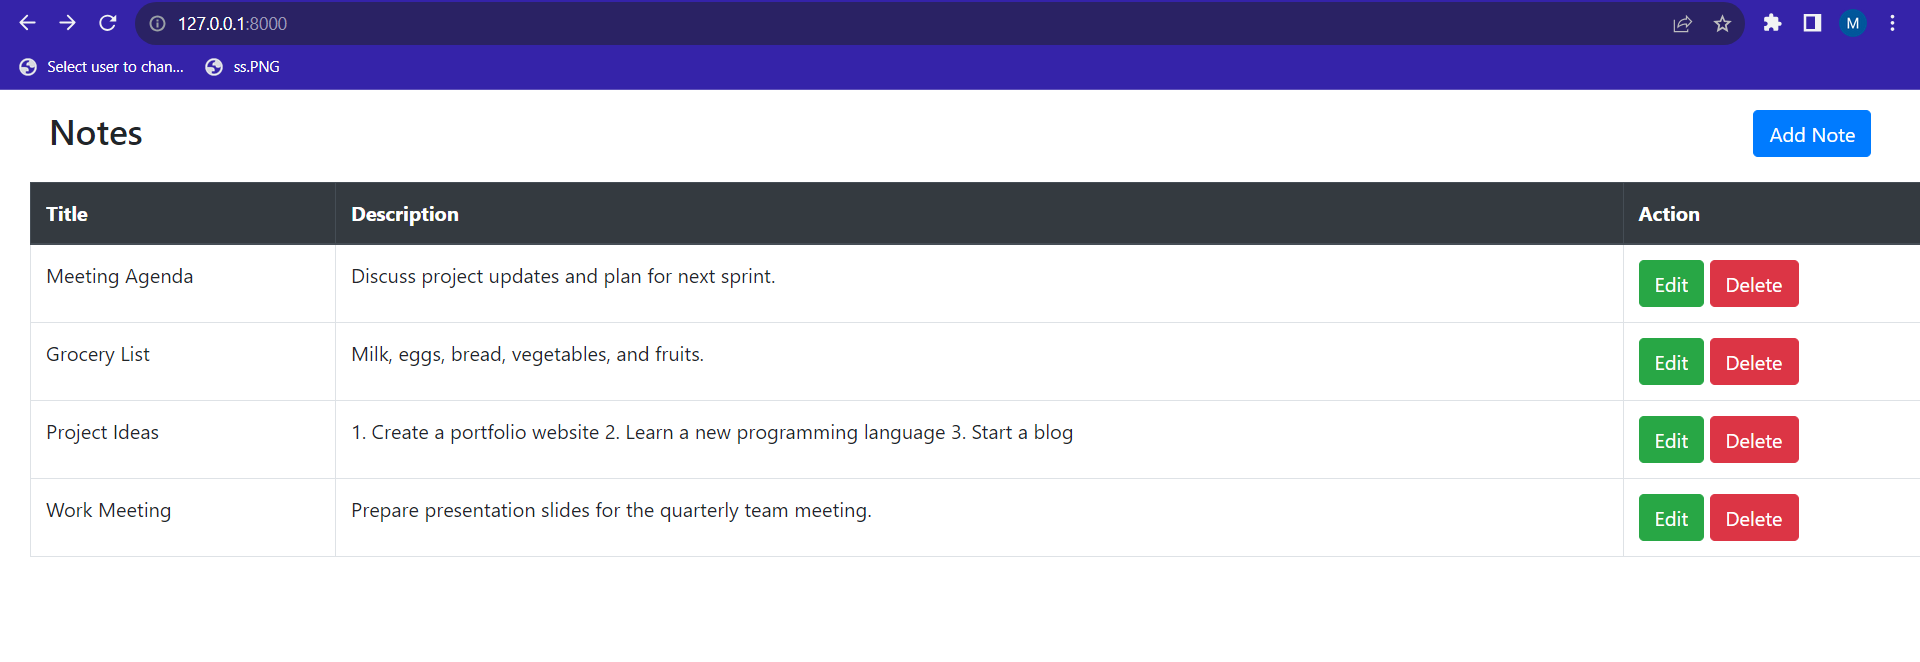
The table in the home.html can be modified as follows to have a edit and delete options.
<div class="table-responsive my-3 mx-4">
    <table class="table table-bordered table-hover">
        <thead class="thead-dark">
            <tr>
                <th>
                    Title
                </th>
                <th>
                    Description
                </th>
                <th>
                    Action
                </th>
            </tr>
        </thead>
        <tbody>
            {% for note in notes %}
            <tr>
                <td>{{ note.title }}</td>
                <td>{{ note.description }}</td>
                <td><a href="{% url 'note_edit' note.pk %}" class="btn btn-success">Edit</a>
                    <a href="#" class="btn btn-danger">Delete</a>
                </td>
            </tr>
            {% endfor %}
        </tbody>
    </table>
</div>
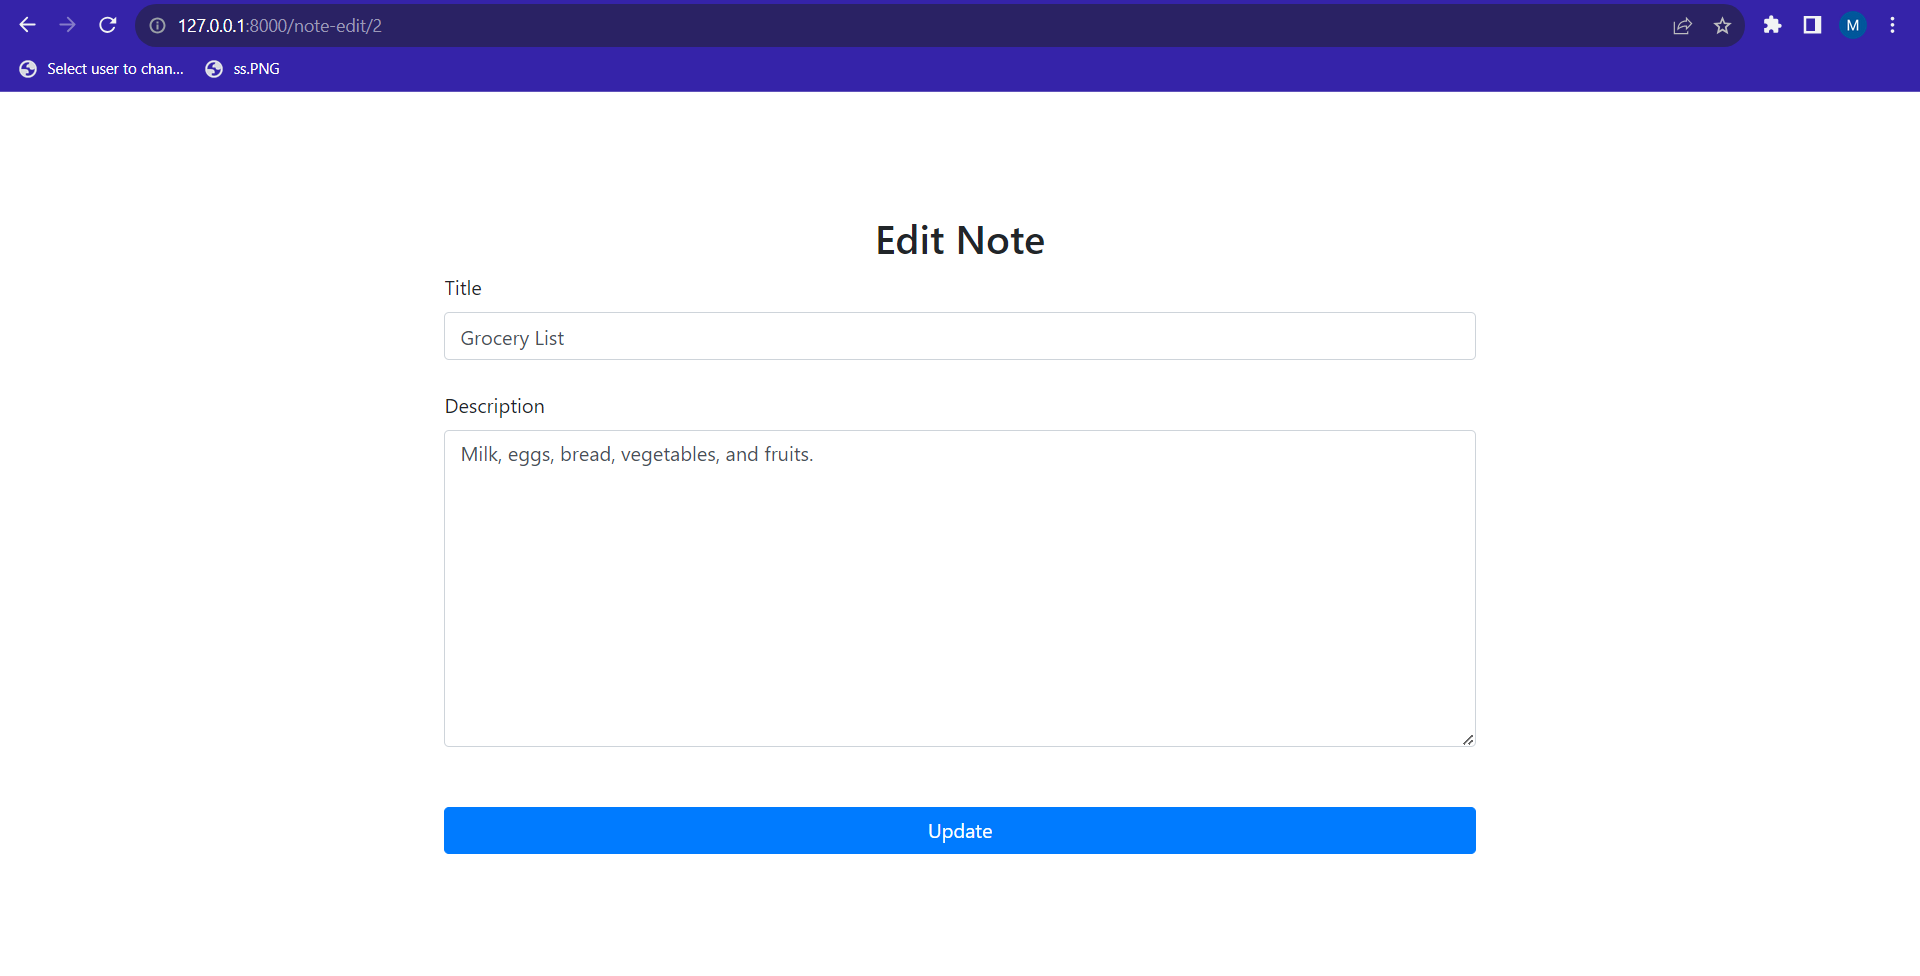
 On clicking the edit button of any row, it will take us to the edit form with the title and description values pre filled in it.
 Data can be modified, and the update button will update the objects data in the database.